In today’s fast-paced world, time is a precious commodity, especially for busy professionals juggling work, family, and personal commitments. Traditional dry cleaning services, while effective, often require significant time and effort—from dropping off and picking up garments to waiting days for your clothes to be ready. Enter mobile dry cleaning, a game-changer that offers unparalleled convenience and efficiency. In this blog post, we’ll explore how mobile dry cleaners near me in Wauconda can save you valuable time and reduce daily stress, allowing you to focus on what truly matters.
1. Hassle-Free Scheduling
Flexible Pickup and Delivery Options
One of the standout features of mobile dry cleaning is the ability to schedule pickups and deliveries at your convenience. Whether you prefer early morning, late evening, or even weekends, mobile dry cleaners work around your schedule. This flexibility means you don’t have to rearrange your day or take time off work to handle your laundry needs.
Easy Online Booking
Most mobile dry cleaning services offer user-friendly online platforms or mobile apps where you can book pickups and deliveries with just a few clicks. No more waiting on hold or making multiple phone calls—everything is streamlined for your ease.
2. Time-Saving Convenience
No More Commutes
Think about the time it takes to drive to a traditional dry cleaner, find parking, and wait for your clothes to be ready. With mobile dry cleaning, all these steps are eliminated. Your garments are collected from your doorstep and returned to you, freeing up hours in your week that you can spend on more productive or enjoyable activities.
Streamlined Process
Mobile dry cleaners handle everything from pickup to delivery, ensuring that your clothes are cleaned and returned promptly. This seamless process reduces the need for multiple trips and follow-ups, making your life significantly easier.
3. Personalized Service
Customized Scheduling
Busy professionals often have unpredictable schedules. Mobile dry cleaning services understand this and offer personalized scheduling options to accommodate last-minute changes or urgent requests. This level of customization ensures that your needs are met without added stress.
Attention to Detail
With mobile dry cleaning, you can often communicate directly with your cleaner, specifying any particular requirements or preferences. This personalized approach ensures that your garments are treated with the care and attention they deserve, enhancing the overall quality of the service.
4. Enhanced Efficiency
Batch Processing
Mobile dry cleaners are adept at handling bulk orders efficiently. Whether you have a week’s worth of work attire or multiple outfits for a special event, they can manage large quantities without compromising on quality or speed. This efficiency is particularly beneficial for busy professionals who need multiple items cleaned in a short time frame.
Advanced Technology
Many mobile dry cleaning services utilize cutting-edge technology to optimize their operations. From automated scheduling systems to advanced cleaning techniques, these innovations ensure that your clothes are cleaned quickly and effectively, further saving you time.
5. Reduced Stress
Eliminating Chores
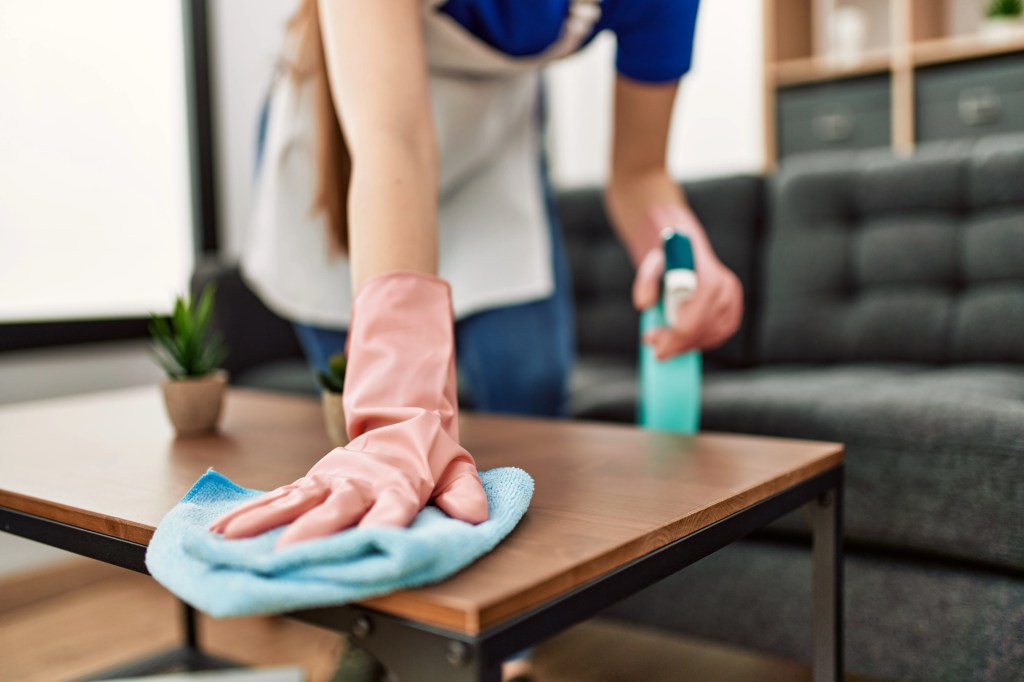
Laundry, especially dry cleaning, can be a tedious and time-consuming chore. By outsourcing this task to a mobile service, you eliminate the burden of managing your own dry cleaning, reducing your overall stress levels and freeing up mental space for more important tasks.
Reliable and Consistent Service
Knowing that your dry cleaning needs are consistently met without requiring your constant attention provides peace of mind. You can rely on mobile dry cleaners to maintain the quality and timeliness of their service, allowing you to focus on your professional and personal life without worry.
6. Eco-Friendly Options
Sustainable Practices
Many mobile dry cleaning services prioritize eco-friendly practices, such as using environmentally safe solvents and minimizing water usage. By choosing a mobile service that aligns with your values, you can contribute to sustainability efforts without sacrificing convenience or quality.
Efficient Logistics
Optimized pickup and delivery routes reduce the carbon footprint associated with transportation. Mobile dry cleaners often plan their schedules to maximize efficiency, ensuring that your garments are handled in the most environmentally responsible way possible.
For busy professionals, every minute counts. Mobile dry cleaning offers a smart solution that saves time, reduces effort, and enhances overall convenience. By eliminating the need for trips to the dry cleaner, providing flexible scheduling, and delivering personalized, efficient service, mobile dry cleaning allows you to focus on what truly matters—your career, family, and personal well-being.